
Start Training
This tutorial will take you through the essentials to the Console, Profiles, and Scheduling. By the end you will be ready to start scheduling your clients!
What's Needed
To get started, you need to have a RecHelper.com account and be a staff member of a team.
Check out This Guide for more information on how to join a team.
What is the Console
The Console is the base of operations for your team, and the primary place you will be working within RecHelper. The Console is only accessible to active staff members of your team.
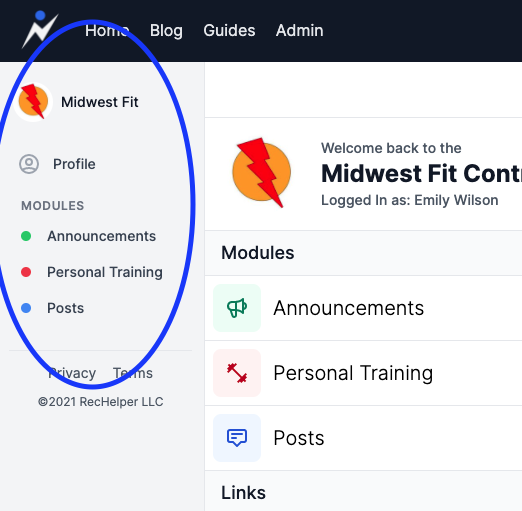
To get started click on the cloud icon underneath your team's name.

When you are brought the the Console you will notice the side navigation. This is called the Console Navigation, and you will be using it to move around your Console.
Add your profile availability
The first thing we want to do is add our availability.
- On the Console Navigation click the link that says
Profileto go to yourTeam Profile.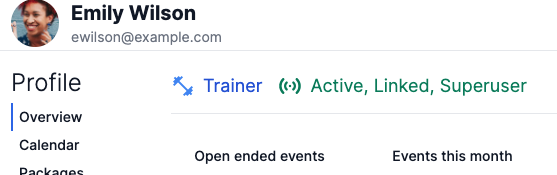
You can think of this profile as your "Membership" to this team, and your way of interacting with the team.
Your status might say Staff instead of Superuser if you joined another team.
-
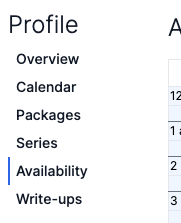
Click Availability on your profile navigation.
-
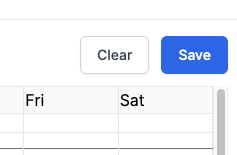
Click+Hold+Drag for the times you are generally available each week
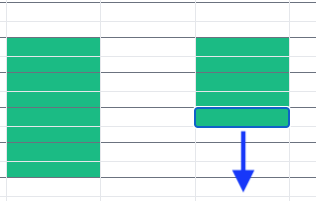
This will help make sure when new client's join your team can pair the client's requested time with a similar trainer.
- Save it!
Add your clients
Next let's add some of our clints.
-
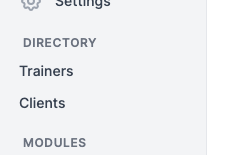
Navigate to the clients directory on Console Navigation
-
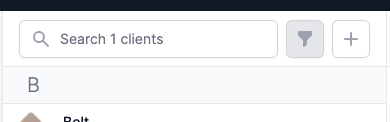
Use the + button to open a slide-over and add your client's name and email
-
After you enter info you will be brought to the new
Team Profilefor your client. Let's add a note and maybe an attachment to their profile.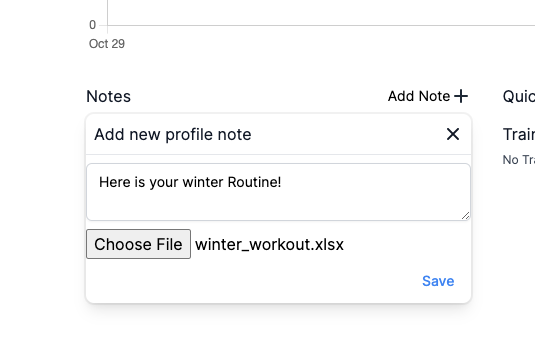
Optional: You can "Invite User" to allow the client to access their Client Portal. Client's do not have access to the Console, and cannot modify any information.
For more information on the client portal check out Client Portal Guide
or if you need more help with clients, contact support@rechelper.com
-
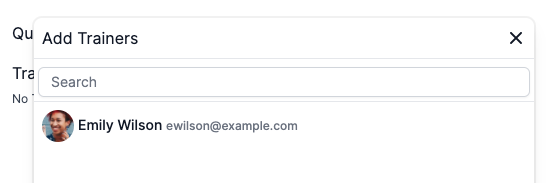
On your client's new profile, use the plus icon next to Trainers
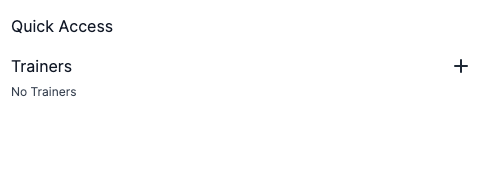
-
Select yourself from the list
You did it! You are now paired with your client. You can check this by going to your profile and seeing your client under Clients.
"Okay but what now?"
Now that we have our profile setup, and our client is ready, we can begin scheduling!
Create an Event
-
Click the
Create Eventbutton from the Console Navigation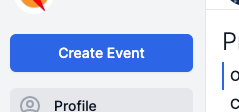
-
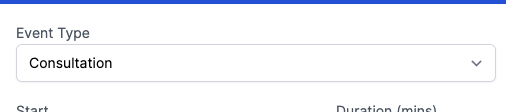
Select the event type
-
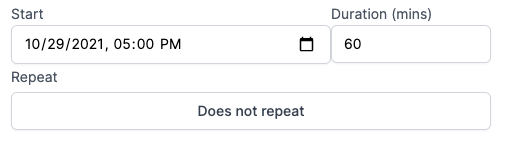
Let's use today, and set our session length to one hour (60 minutes). And since we are just testing out this event we won't have it repeat.
-
Add participants and locations by clicking their respective titles
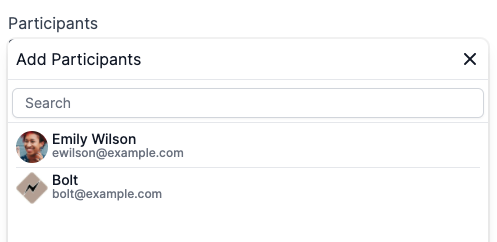
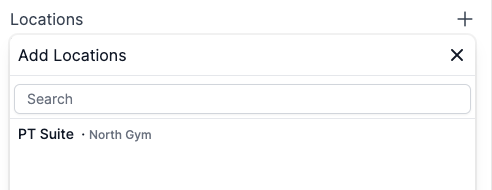
Make sure to add yourself, as events require a trainer!
-
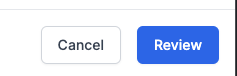
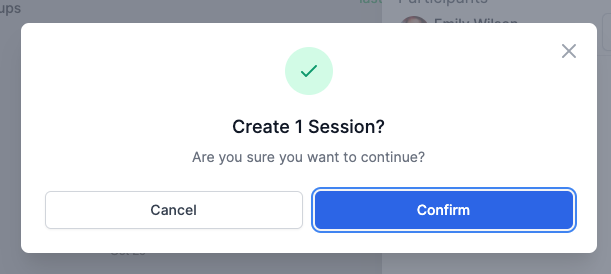
Review
-
...and Confirm!
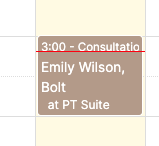
Head to the Calendar in the Console Navigation and we can see our newly created event!
Update your event
Now we want to keep track of what happened during the event. We will change the status and add a write-up to the event.
-
Select the event from a calendar
-
Change status to completed
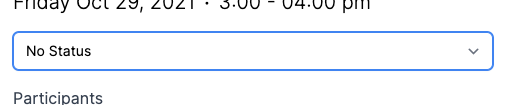
Notice how your event changed color on the calendar?
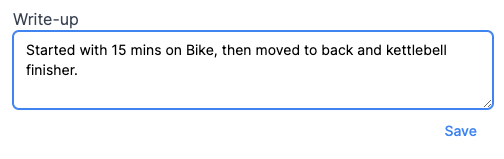
- Add a Write-Up
Celebrate
Congratulations! You have now setup your trainer profile, added your clients, and created your first event on RecHelper.com.
The steps you took today will be the primary workflow when using RecHelper. There are many more features and configurations for you to explore, and if you are interested in learning more feel free to contact support@rechelper.com to schedule a 1:1 free consultation!